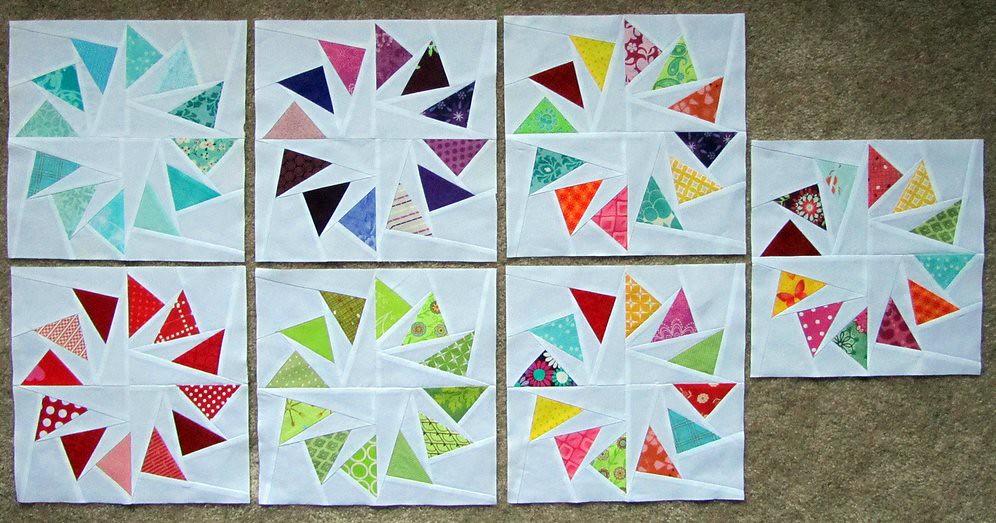
Anyway, since I just went through the process, I thought I'd mention a few lessons learned...just in case you want to tackle these beauties (and I think you should try at least one if you never have) -
1. Get comfy with the fact that you are going to
2. Make good friends with your seam ripper. Me and mine are already pretty close, but it got quite a workout with these blocks! Just know you're going to use it. Even when I was super-duper sure I had everything lined up and looking good, inevitably things wouldn't work out sometimes and I'd have to rrrrrrrip out the seam. I tried my best not to throw too many tantrums about it and just chalk it up to the process. Maybe you'll be luckier than me, but of the 28 units I made (4 units per block) I think I only DIDN'T need my seam ripper for about 5 of them. I can be in a rush, so maybe that was my problem.
3. Try to have it set up so you don't have to get up at all to make each unit. I sat with my pressing table to my left (I'm left-handed) and my cutting mat to the left of my machine. So, I was able to have my fabric close by (strewn about my lap and all around my desk...I can be a messy quilter) and do everything from my chair. It saved so much time! I would hold the paper up to the light to place my fabric, sew the seam, press it (I guess finger pressing would be fine, but I'm an obesessive ironer with my sewing, which is funny b/c I LOATHE regular ironing...go figure, but I digress), trim it, and then do it all over again until all 9 pieces were in place. Well, I did have to get up a lot to tend to the kiddos, but in theory being able to stay put can be a huge help!
I just realized that I'm writing this as if you've paper pieced blocks. If you haven't, no worries...it takes a little practice but it's not really hard. It takes time and some patience, but once you get the hang of how to place your fabric, you'll be set. Here are a couple of links to help you out:
Paper Piecing Practice/Tutorial (Quilter's Cache) - this is a great tutorial/practice page to get you started with the basics of paper piecing.
Paper Piecing Tutorial (Fresh Lemons) - another fab tutorial about paper piecing
And, if you're up for trying a Geese In A Ring, here's a link to the template I used: http://www.piecebynumber.com/circleofgeese.htm
Good luck and let me know if you try one!


I want to try these - not sure if you have put me off or spurred me on!!
ReplyDeleteThank you for posting links to tutorials! I've been "faking" paper piecing- these tutorials will be uber helpful in learning how to do it the right way. Oh- and your geese look beautiful! Maybe you'll be a pro by October and we can do geese in a ring for my quilt for cancer...
ReplyDeleteYour blocks are fabulous, Deb!!
ReplyDeleteAnd I am really exited about your desciption of the process and what to look out for: I could not have written it any better. I am also with you on the lacing of the iron and the cutting board!
I cannot wait to get my block!
I trace the lines on the paper so I can see it from both sides. That's my tip of the day.!
ReplyDeleteCan you notice I'm blog stalking you today? No reason, just love your cheery blog!